Navigation
| Home | | Week 1 | | Week 2 | | Week 3 | | Week 4 |
Week 4
1. Electronics Design and Production: Kokopelli
2. Video Conferencing
3. 3D Printing
Electronics Design, Production & Programming
The day started off with Francisco giving a quick overview of the Fab Academy through a quick presentation and also explained about the one week project. The idea of a one week project is to choose and complete a simple well crafted project in one week instead of going complicated project.
Kokopelli
Francisco then introduced Kokopelli, an interesting software developed by Matt Keeter for designing electronic circuit boards through code. I installed Kokopelli on Virtualbox ubuntu on my mac and all the dependencies were installed on Ubuntu. However, I was not able to get it work on my Ubuntu.
https://github.com/mkeeter/kokopelli/wiki/Installing
I used the instructions available on the above given link and also added all the Python libraries through pip.
Fransisco explained how components can be added by adding code snippets from the code inventory created by Niel.
As my documentation website was not live. Francisco shared a catch up plan and I was asked to make the website live before I leave the lab. The website is live now and all my documentation for the previous weeks needs to be added. Thats it for today.
Finally I figured out how to fix the Kokopelli installation issue and it was running fine on myVirtuabox Ubuntu.
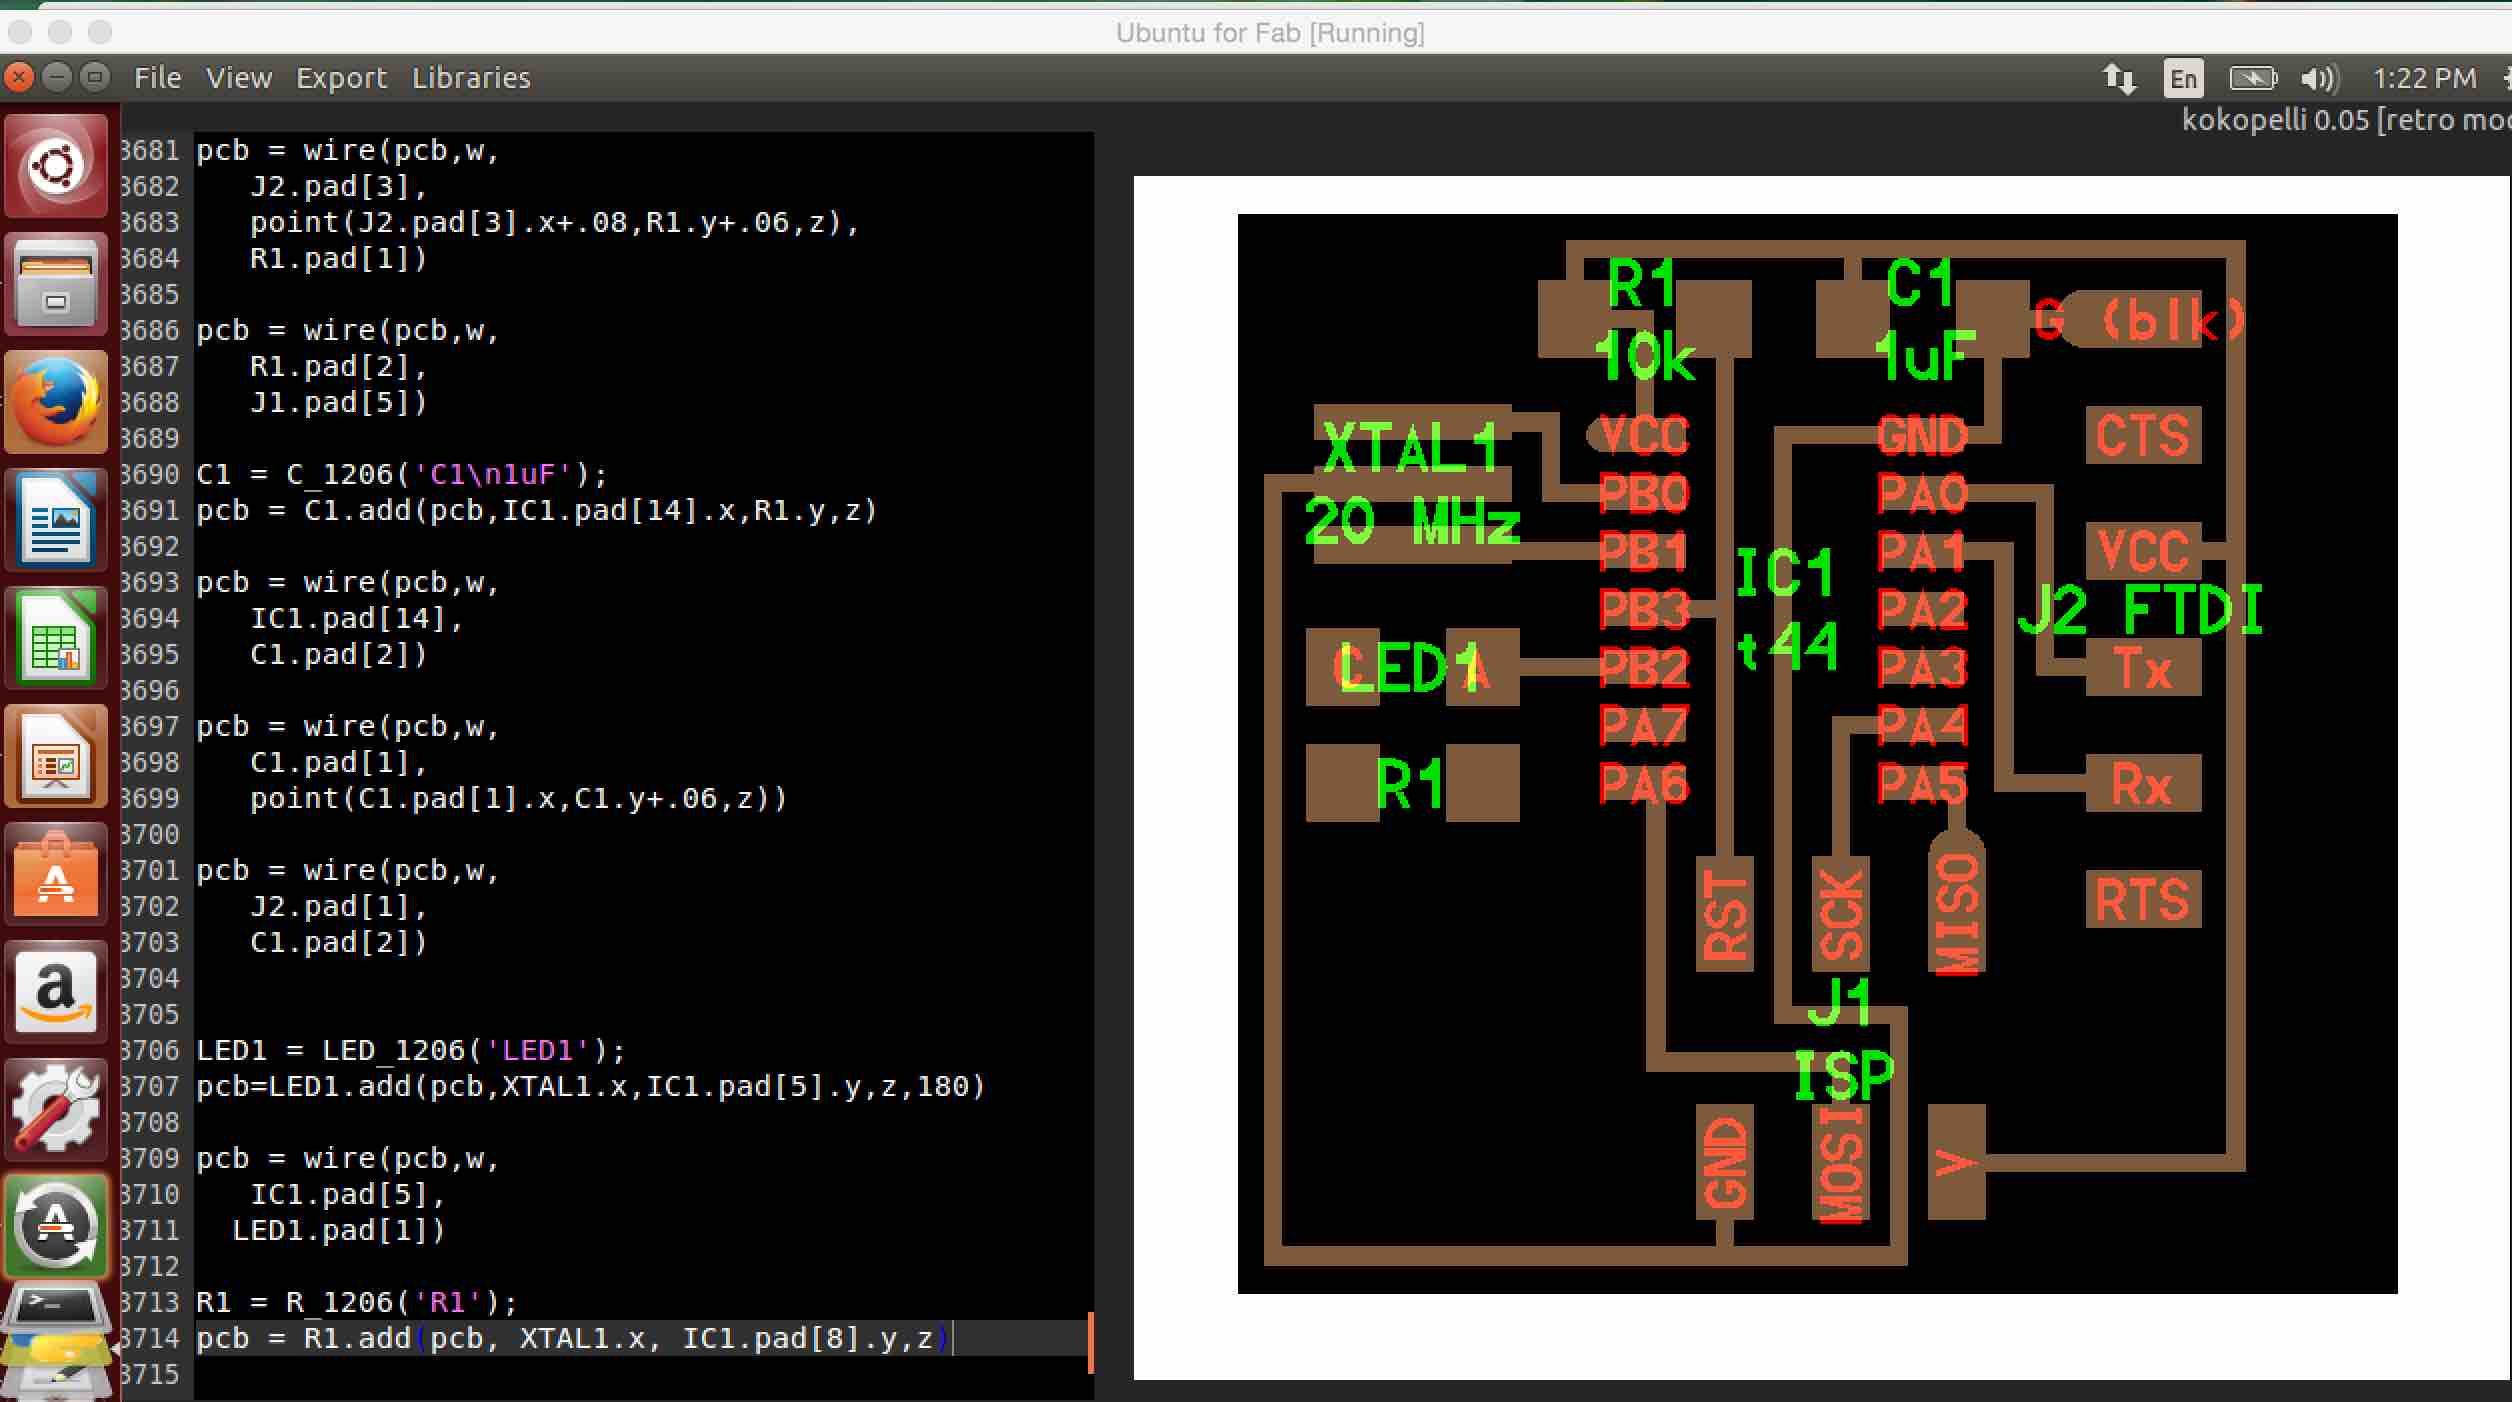
Proff. Neil has created an inventory of electronic components inside a 4000 line code. In order to add components into a design, the code snippets can be taken from the code created by Prof. Neil and added to our design accordingly.
Todays task was to add three additional components: A resistor, a button and an LED to the hello ftdi board design. This was done by adding the following code to the existing code.
I used the instructions available on the above given link and also added all the Python libraries through pip.
Francisco explained how components can be added by adding code snippets from the code inventory created by Niel.LED1 = LED_1206('LED1');
pcb=LED1.add(pcb,XTAL1.x,IC1.pad[5].y,z,180)
pcb = wire(pcb,w,
IC1.pad[5],
LED1.pad[1])
R1 = R_1206('R1');
pcb = R1.add(pcb, LED1.pad[2].x, J1.pad[3].y,z,90)
pcb = wire(pcb,w,
LED1.pad[1],
R1.pad[2])
pcb = wire(pcb,w,
J1.pad[6],
R1.pad[1])
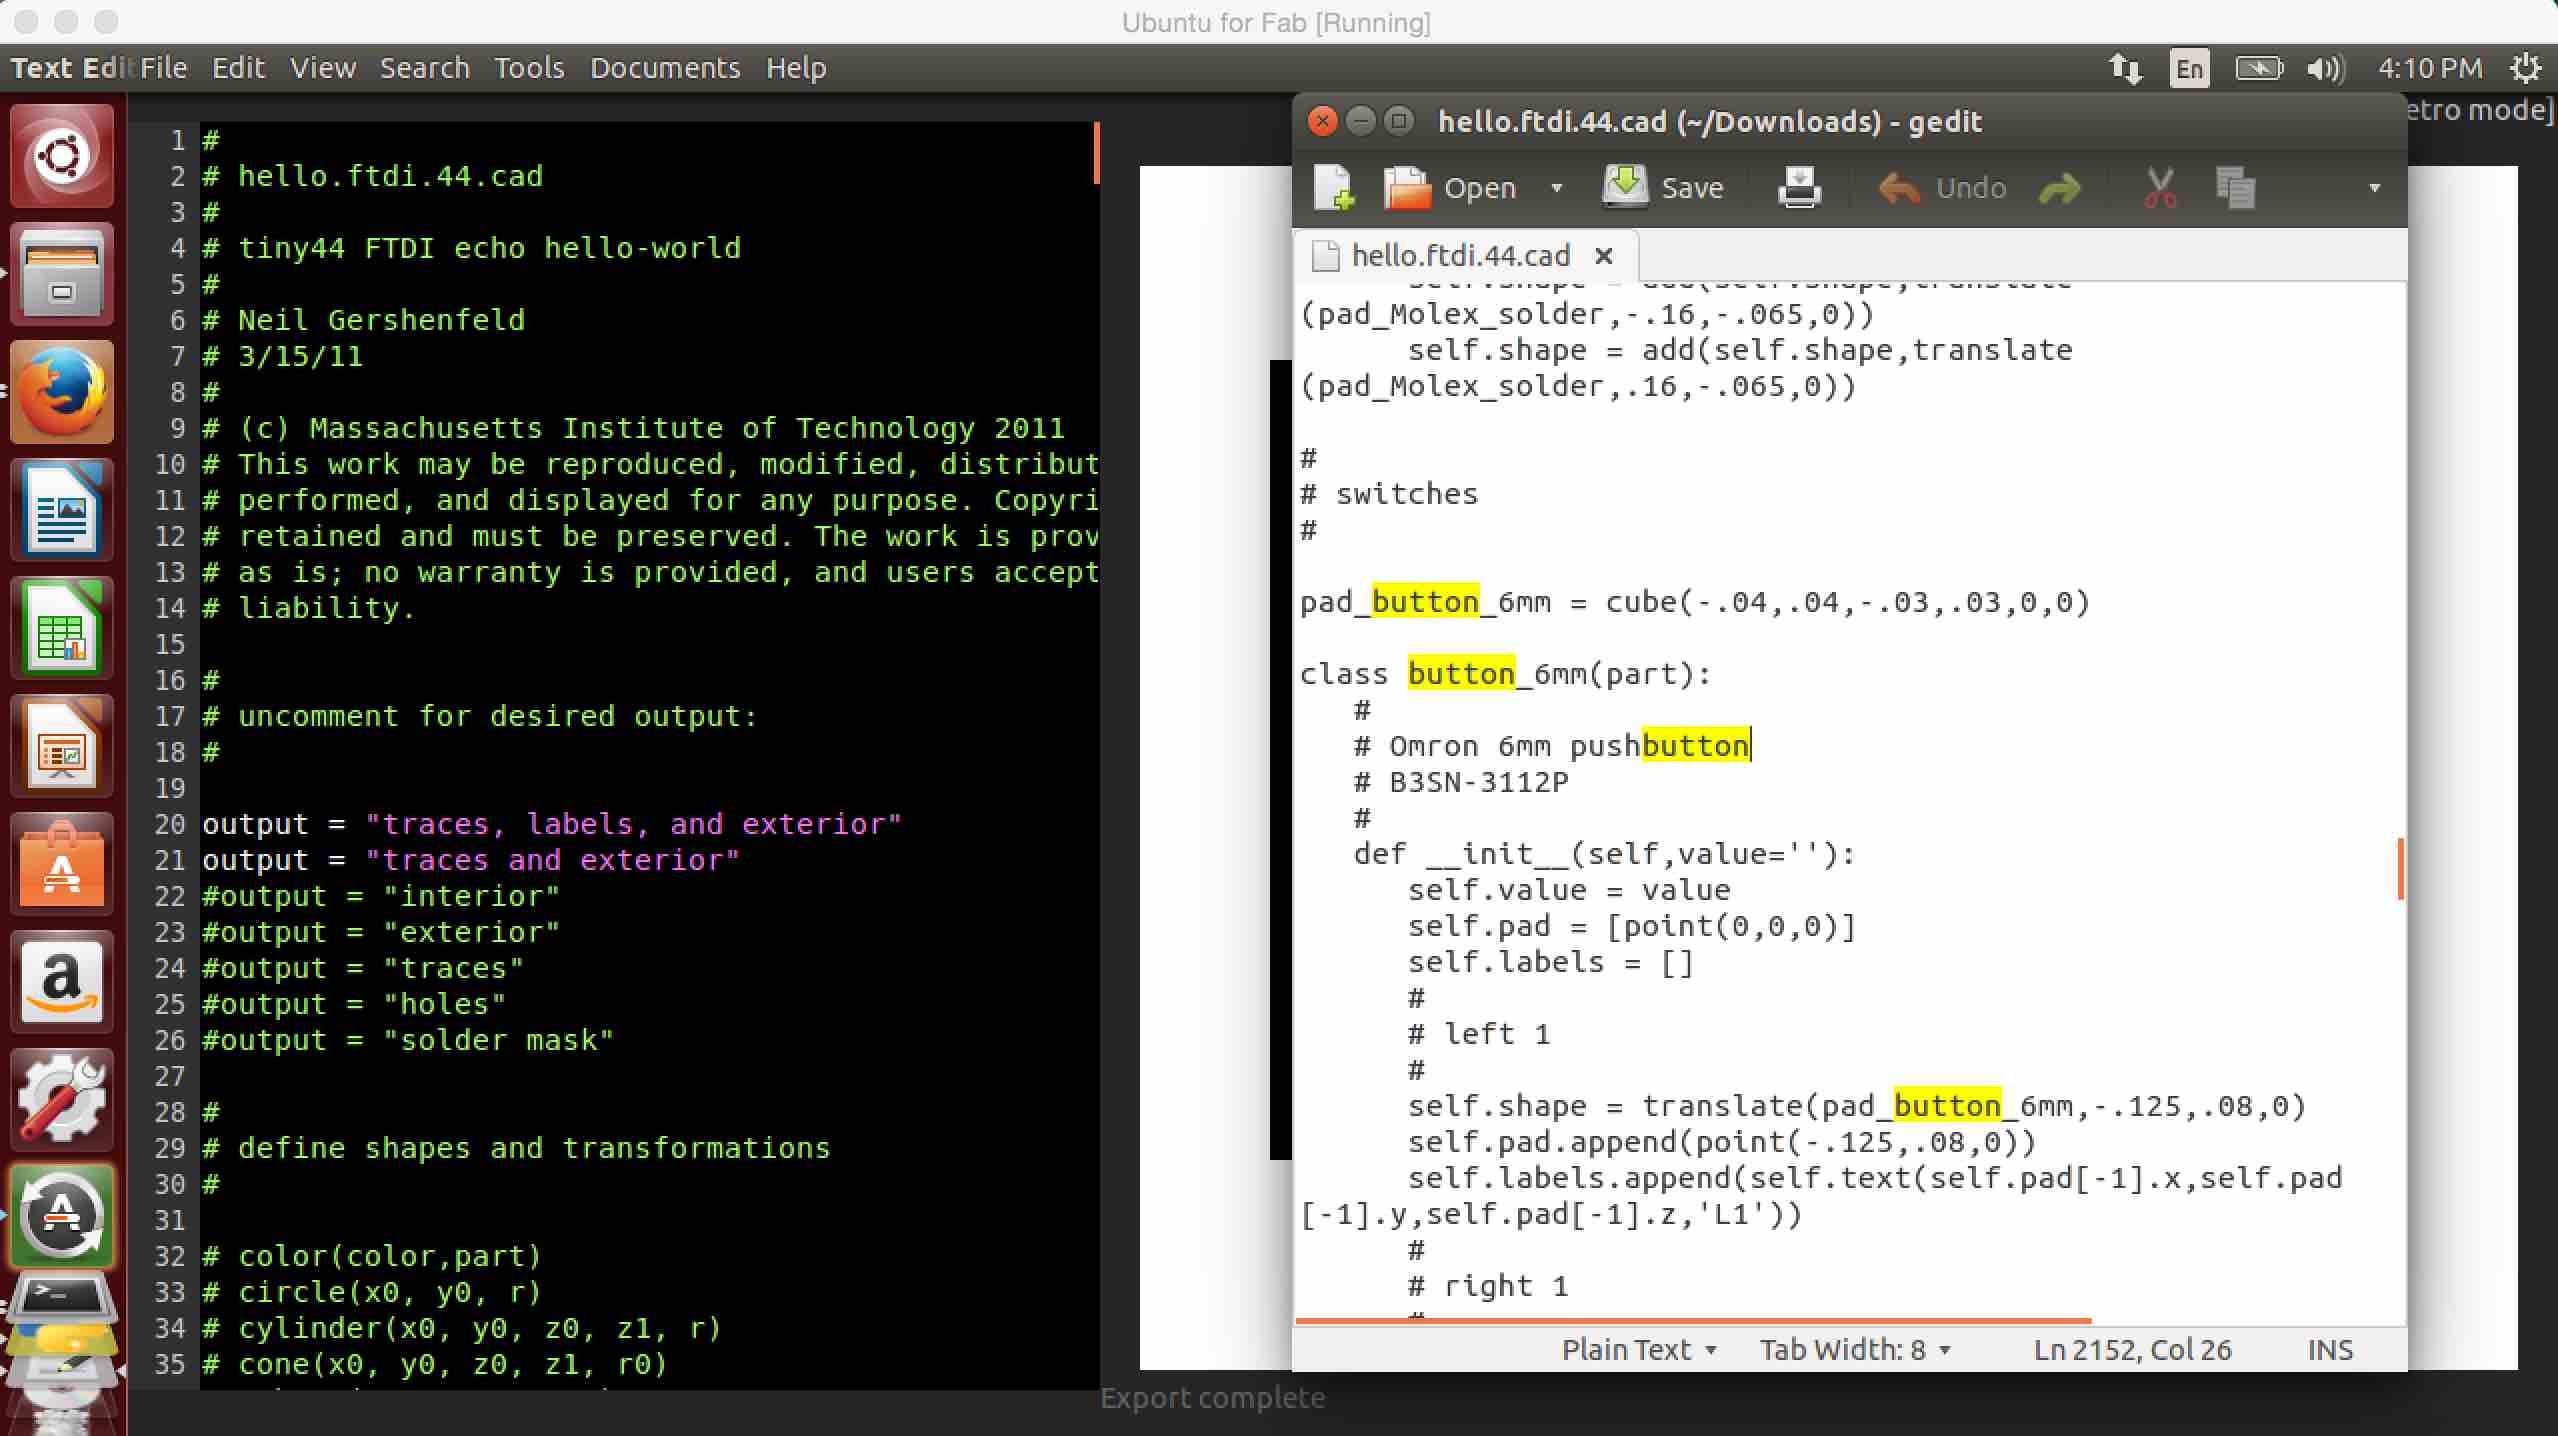
BT1 = button_6mm('BT1');
pcb = BT1.add(pcb,LED1.pad[1].x+.14, J1.pad[3].y-.06,z)
pcb = wire(pcb,w,
IC1.pad[7],
BT1.pad[1])
pcb = wire(pcb,w,
J1.pad[6],
BT1.pad[3])
The modified design was exported as PNG and is ready to be milled using Modella 3D plotter. I will be doing that first in the morning tomorrow.
Downloaded Arduino 1.6.6 IDE on Ubuntu.
2. Video Conferencing

Video conferencing plays a very vital role in Fab Academy. Francisco explained how the video conferencing equipment should be used, how camera should be fixed and even explained even very small things like how the mute button should be used while attending the class every Wednesday.
Once Francisco and Luciano leaves Kerala on Friday, Video conferencing would be the only available option left for us. The video conferencing was setup by downloading linphone on mac.
Clean Up Task
The day started with Francisco explaining about the important of cleaning up. This was followed by a quick clean up task. Within few minutes we removed all the rubbles and the lab was neat once again.
2. Assignment: 3D Printing
 We have two 3D Printers at FabLab Kochi. Ultimaker 2 and Dimensions Elite 1200es. We have already printed a few sample files downloaded from the net and apparently all of them were simple toys like elephant, octopus etc.
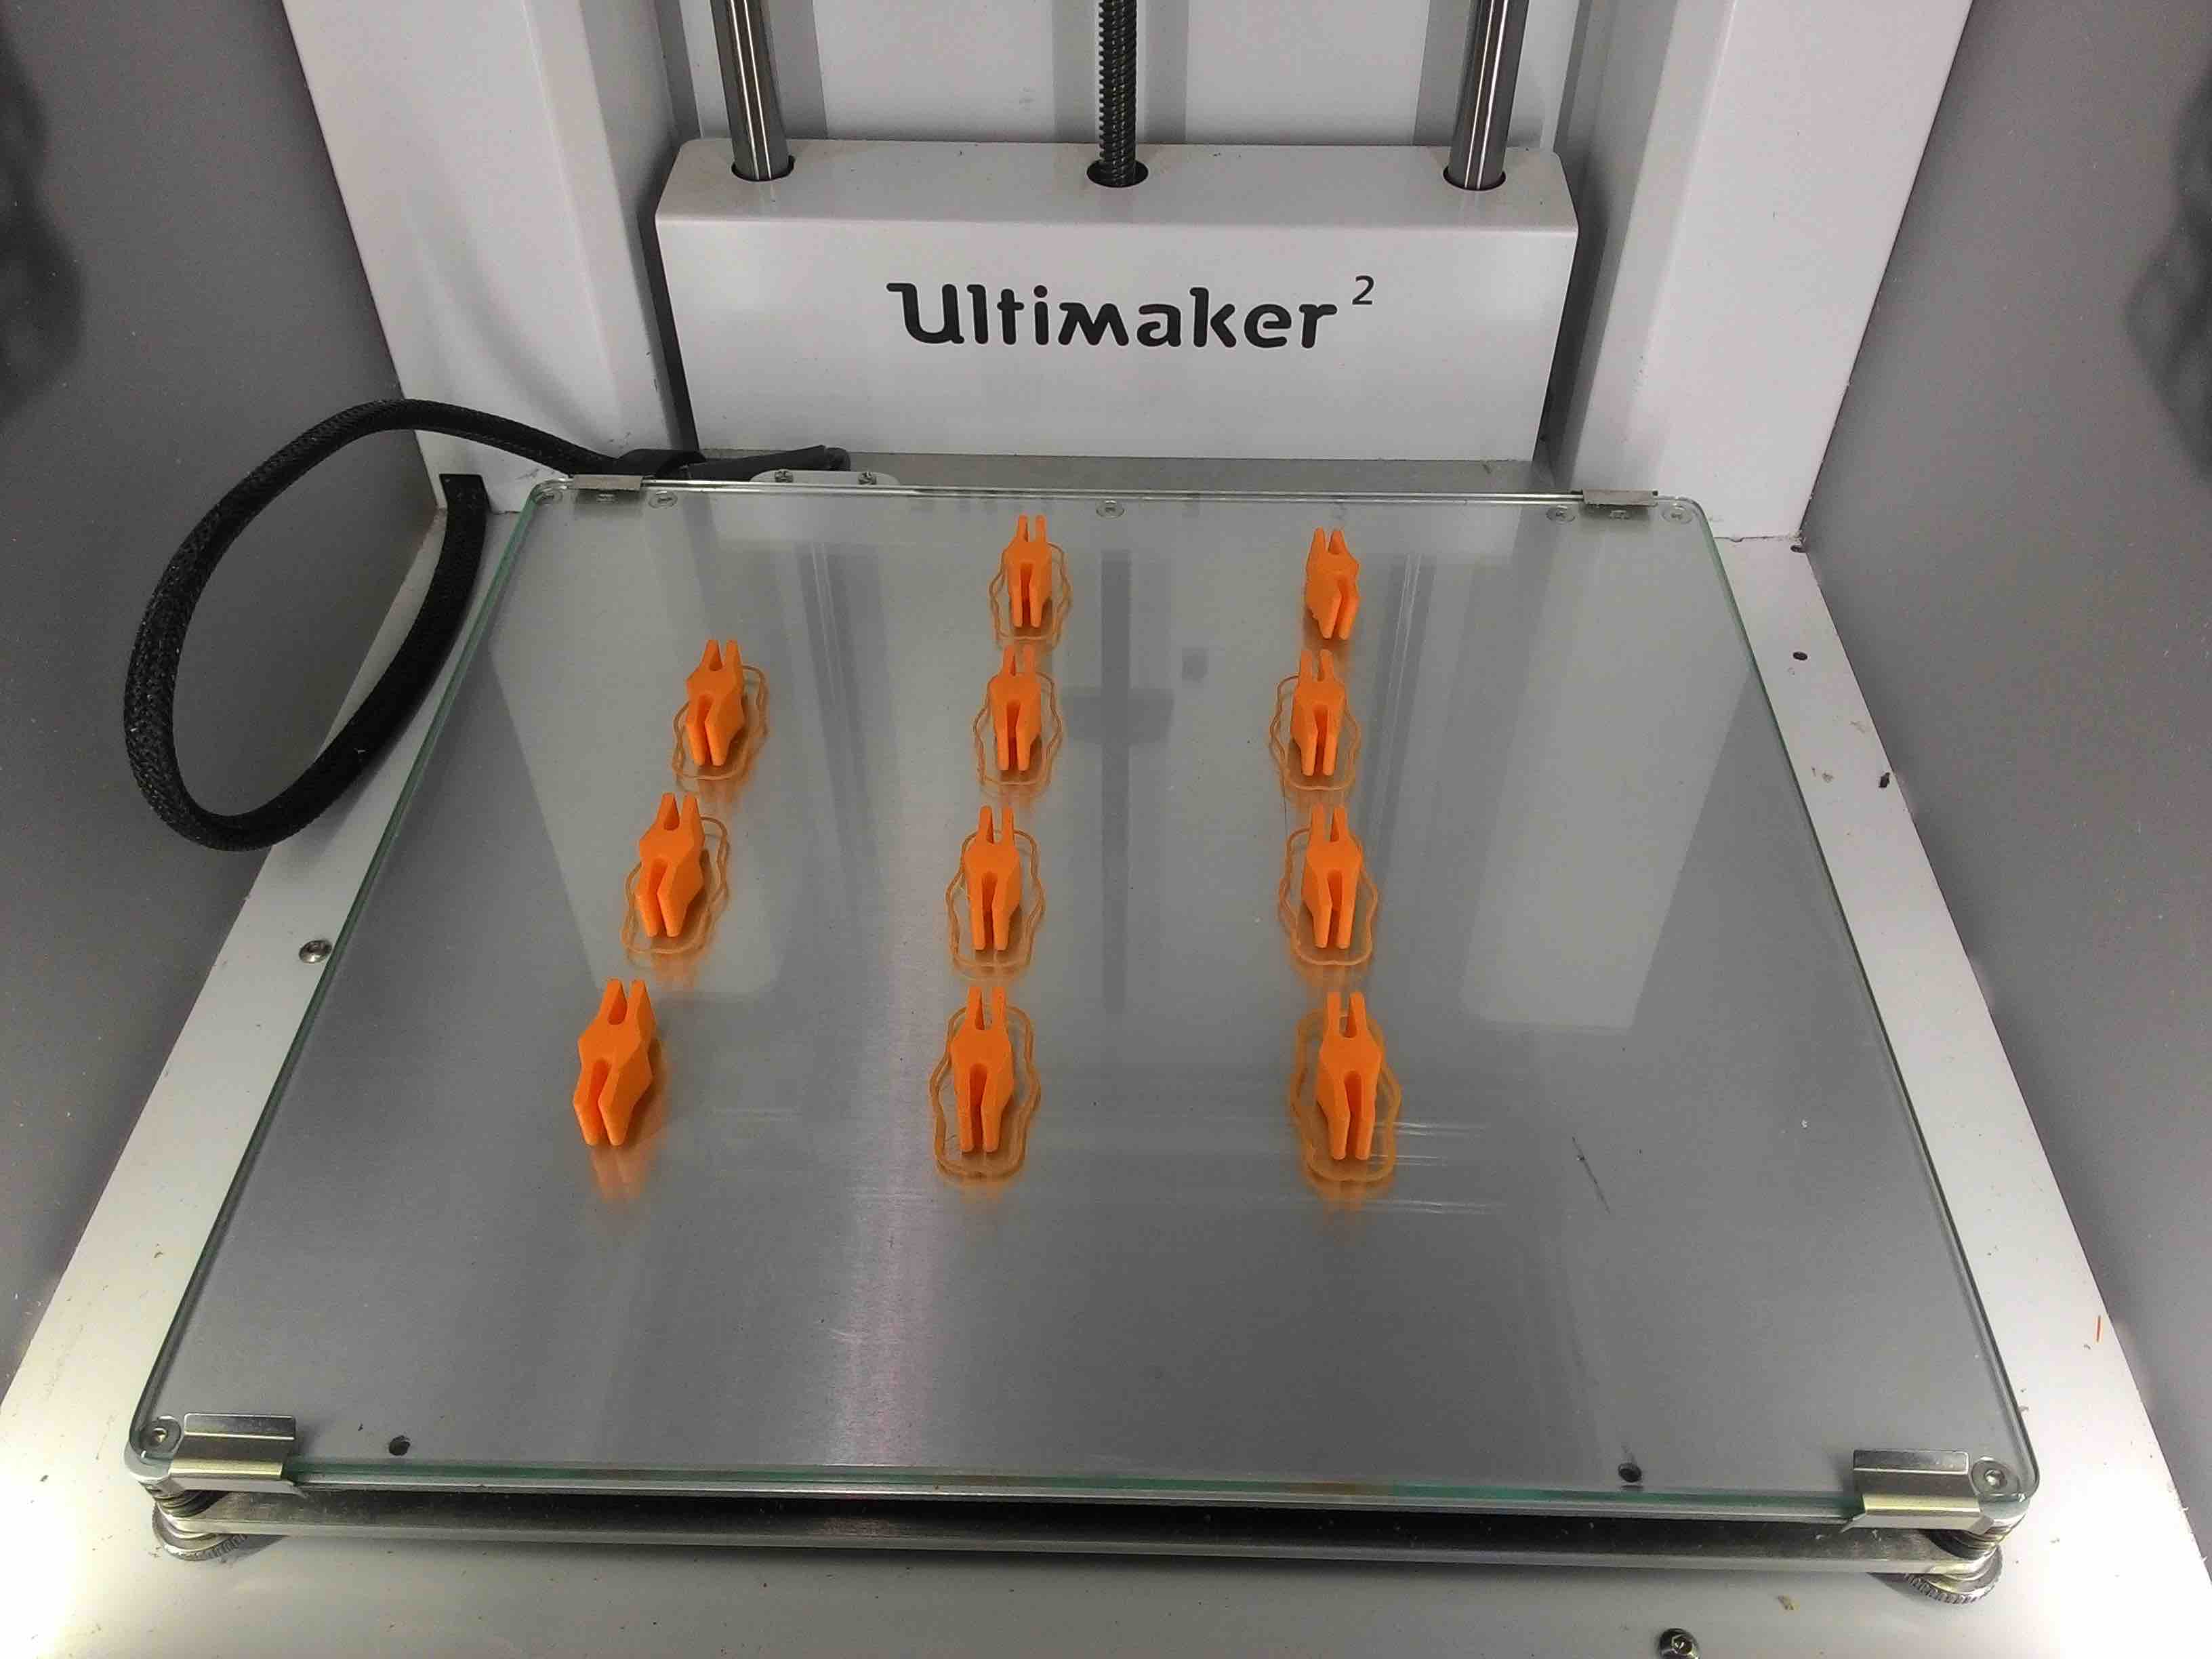
Francisco told us that 3D printers were not invented to print simple toys but something useful. We adjusted and calibrated the position of ulimaker 3D printer bed under Francisco’s guidance and also went ahead an printed 10 clips for 3D printer material spools. =======To be updated========